
PrestaShop v1.6 Installation
There are a couple of ways to download PrestaShop and upload it to a server. Some hosts offer scripts that automatically download and install the latest version of PrestaShop. Learn more about One-Click Installs here. If such a tool is unavailable, PrestaShop will need to be manually uploaded to the server.
Downloading PrestaShop
Click here to go to PrestaShop's download page. If you don't have a host and are happy to use 1&1, click the Start now button on the left to create an account and automatically install PrestaShop.
If you already have your own host, fill out the form on the right. There are options to enter your email address, "What describes you best?" and your language. The first two fields are used for statistical purposes and do not need to be entered to download and install PrestaShop.
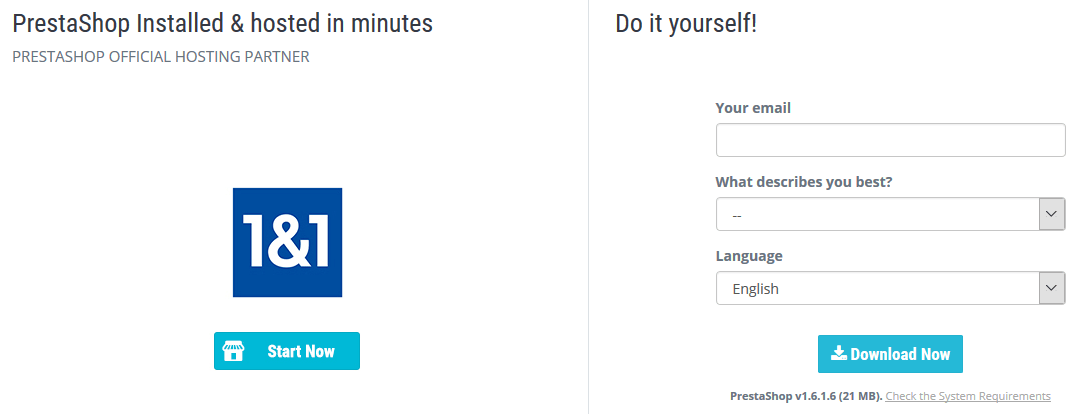
By default, only the selected language will be included in the download. Websites who are targeting customers who speak other languages may add additional language packs after installing PrestaShop.
Click the Open Software License Agreement link to read PrestaShop's license agreement. Click the Check the System Requirements link in the resources section below the download box to review PrestaShop's system requirements. PrestaShop v1.6 requires PHP 5.1.2 or later and MySQL 5.0 or later, but PHP 5.4 or later is recommended.
Click the Download Now button to download the latest version of PrestaShop. Older versions of PrestaShop can be downloaded by clicking the Previous versions link and the latest development versions can be downloaded by clicking the development versions link. Development versions of PrestaShop should only be used in a test environment and not on a live website.
To test PrestaShop on a local computer before putting it on a live site, download WAMP or XAMPP and install it to simulate running on a web server. Learn more about downloading and installing XAMPP here.
To install PrestaShop on a web server, upload the PrestaShop ZIP file to the server and then extract it. Learn more about uploading and extracting files using cPanel here.
After copying or uploading PrestaShop, run the PrestaShop Installer to install the database and then start configuring PrestaShop.
Installing PrestaShop
After downloading PrestaShop and uploading it to a server, go to http://www.yourwebsite.com/prestashop/ (or whichever directory contains the PrestaShop files) to run the PrestaShop Installer.
Choosing the installer language
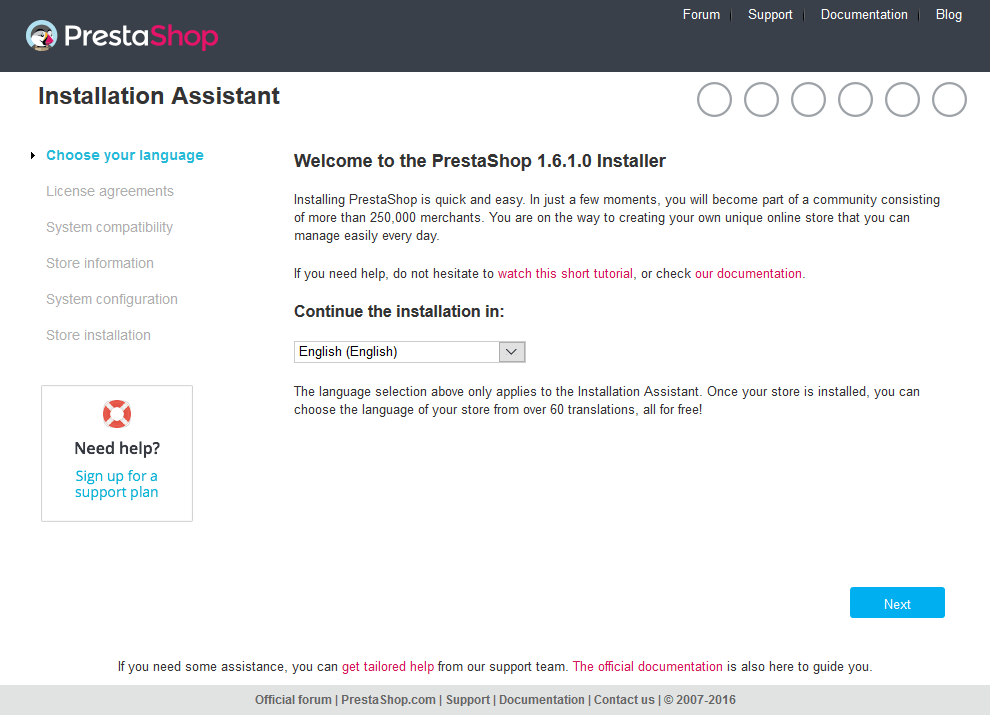
By default, the PrestaShop Installer is displayed in English. In the Choose your language step of the installer, there are options to switch the installer to many other languages.
Changing the installer language will not affect the languages of the PrestaShop store. The store languages are configured after installation. Click the Next button to go to the next step.
Accepting license agreements
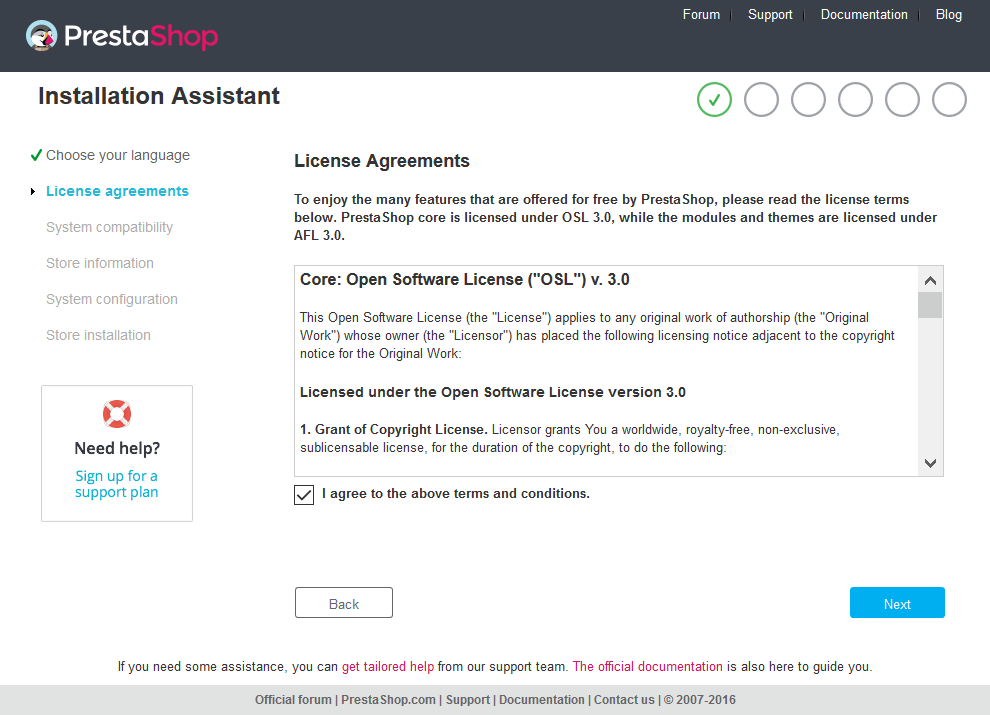
The License agreements section of the installer displays the licenses used by PrestaShop. The core of PrestaShop is licensed under OSL 3.0 and the modules and themes are licensed under AFL 3.0. Tick the
I agree to the above terms and conditions checkbox and then click the Next button to continue.
Checking server configuration
If the server is configured correctly to run PrestaShop, the installer will skip over to the Store Information step. Otherwise, the System Compatibility step will display with a list of items that need to be corrected. Even if this step was skipped, it is a good idea to click the Back button to view this step and see if there are optional parameters that can be changed to optimise the performance of PrestaShop.

If any parameters are listed with a red stop sign icon, see the table below for solutions. The solution may be to change file permissions or create/modify the php.ini file in PrestaShop's root directory. Depending on how PHP is configured, the php.ini file may also need to be copied to the install directory of PrestaShop. If the php.ini file doesn't work, ask the host to install the missing extension.
| Required PHP parameters | |
| PHP 5.1.2 or later is not enabled | Ask host to install PHP 5.1.2 or later |
| Cannot upload files | Check account has permission to upload files |
| Cannot create new files and folders | Check account has permission to create files and folders |
| GD Library is not installed | Ask host to install GD Library |
| MySQL support is not activated | Ask host to install MySQL |
| Files | |
| Not all files were successfully uploaded on your server | Check to make sure all files were uploaded correctly |
| Write permissions | |
| Any directory | Make sure the directory and its subdirectories are chmod 755 |
| Recommended PHP parameters | |
| Cannot open external URLs | Add allow_url_fopen = On to php.ini |
| PHP register global option is enabled | Add register_globals = Off to php.ini |
| GZIP compression is not activated | Add zlib.output_compression = On and zlib.output_compression_level = 6 to php.ini |
| Mcrypt extension is not enabled | Add extension = mcrypt.dll (for Windows) or extension = mcrypt.so (for Linux) to php.ini |
| Mbstring extension is not enabled | Add extension = php-mbstring.dll (for Windows) or extension = mbstring.so (for Linux) to php.ini |
| PHP magic quotes option is enabled | Add magic_quotes_gpc = Off and magic_quotes_runtime = Off and magic_quotes_sybase = Off to php.ini |
| Dom extension is not loaded | Ask host to install php-xml and restart the server |
| PDO MySQL extension is not loaded | Add extension=php_pdo_mysql.dll (for Windows) or extension = pdo.so and extension = pdo_mysql.so (for Linux) to php.ini |
After correcting the parameters, click the Refresh button and they should disappear. Click the Next button to continue to the next step.
Configuring store information
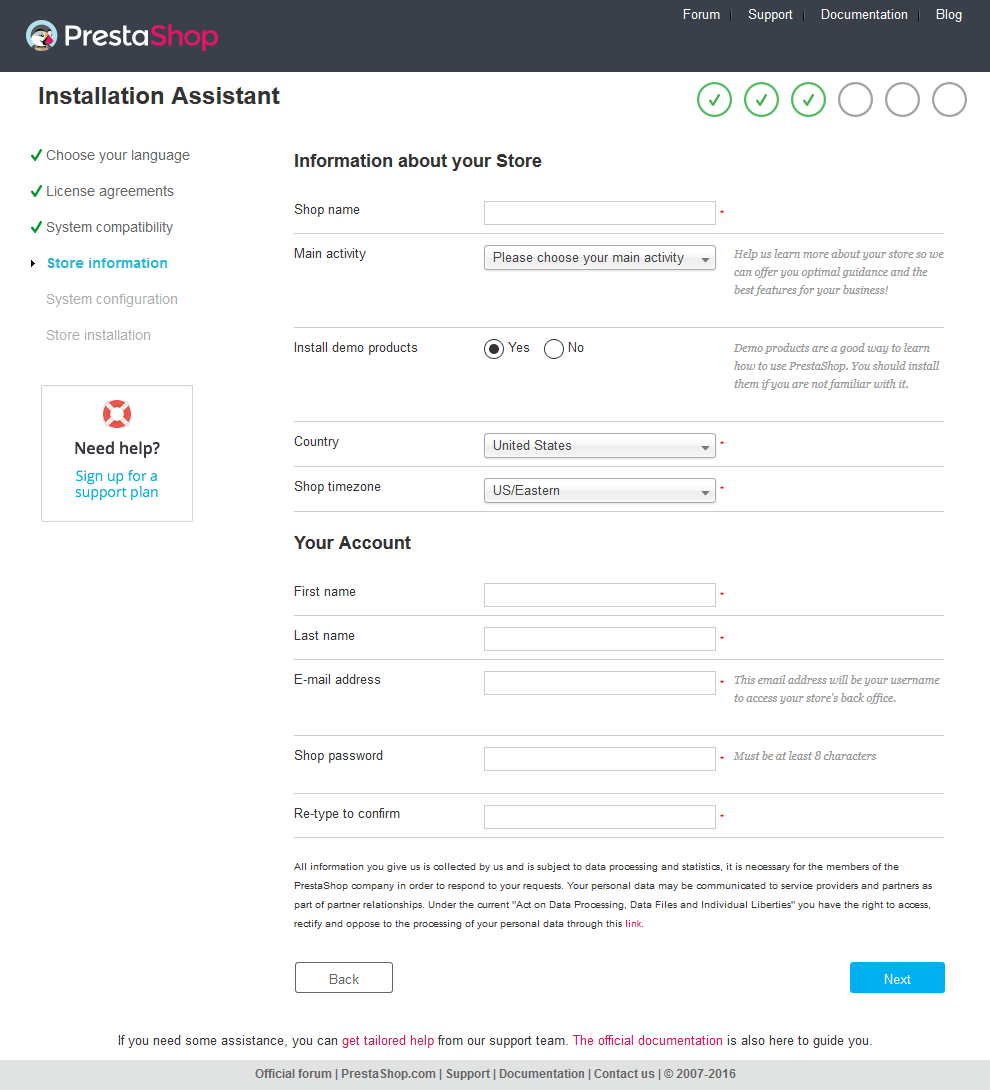
In the Store Information section, enter the shop name and then choose the default country and timezone. Optionally, choose the main activity of the shop, which is used for statistical purposes. By default, PrestaShop installs demo products and orders to make it easier to see PrestaShop's features in action. Change Install demo products to No to have a clean installation without demo products.
In the Your Account section, enter the name, email address and password for the administration account that will be used to log in to PrestaShop and change settings. The password must be an alphanumeric string with at least 8 characters and must be entered twice to confirm it has been typed correctly.
By default, PrestaShop will send a newsletter to the administrator's email address with news and PrestaShop including tips and information about new themes and modules. Untick the Sign-up to the newsletter checkbox to stop the newsletter being sent.
Click the Next button to continue to the next step.
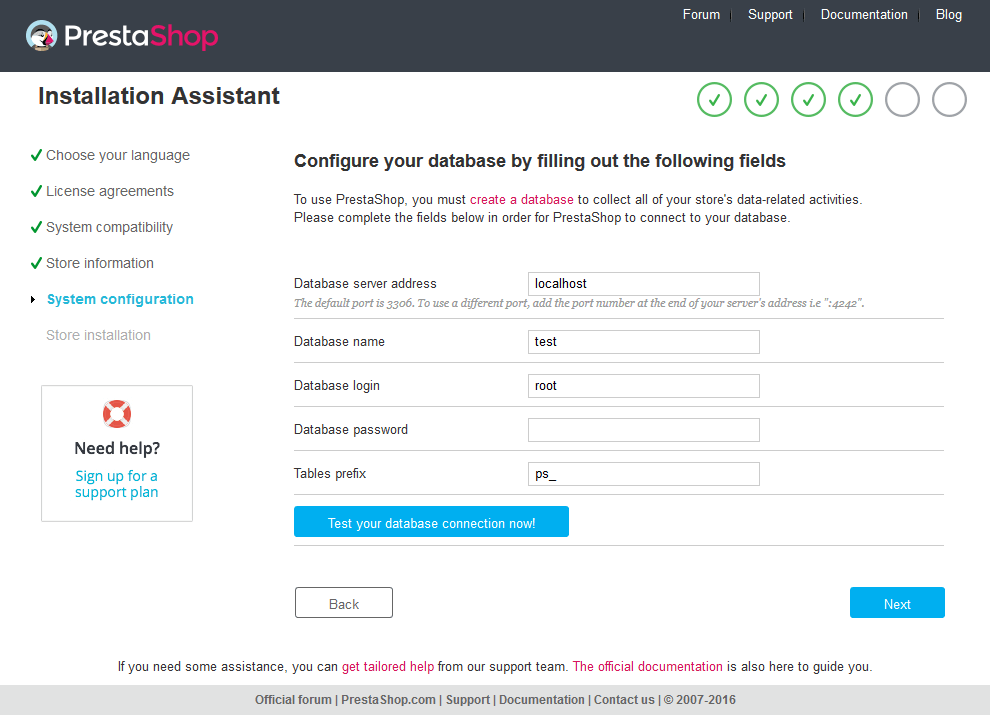
Configuring the database
Enter the server address (usually localhost), name of the database where PrestaShop should be installed, login and password of a user who has access to the database and a unique table prefix if another version of PrestaShop has already been installed in the database. Learn how to create a database here.
Leave the database engine as InnoDB unless there is a compelling reason to change it to MyISAM. InnoDB uses row locking instead of table locking, which allows more than one row in a table to be accessed at the same time.
Click the Test your database now! button to check the database details are correct. If they are correct, click the Next button to continue to the next step.
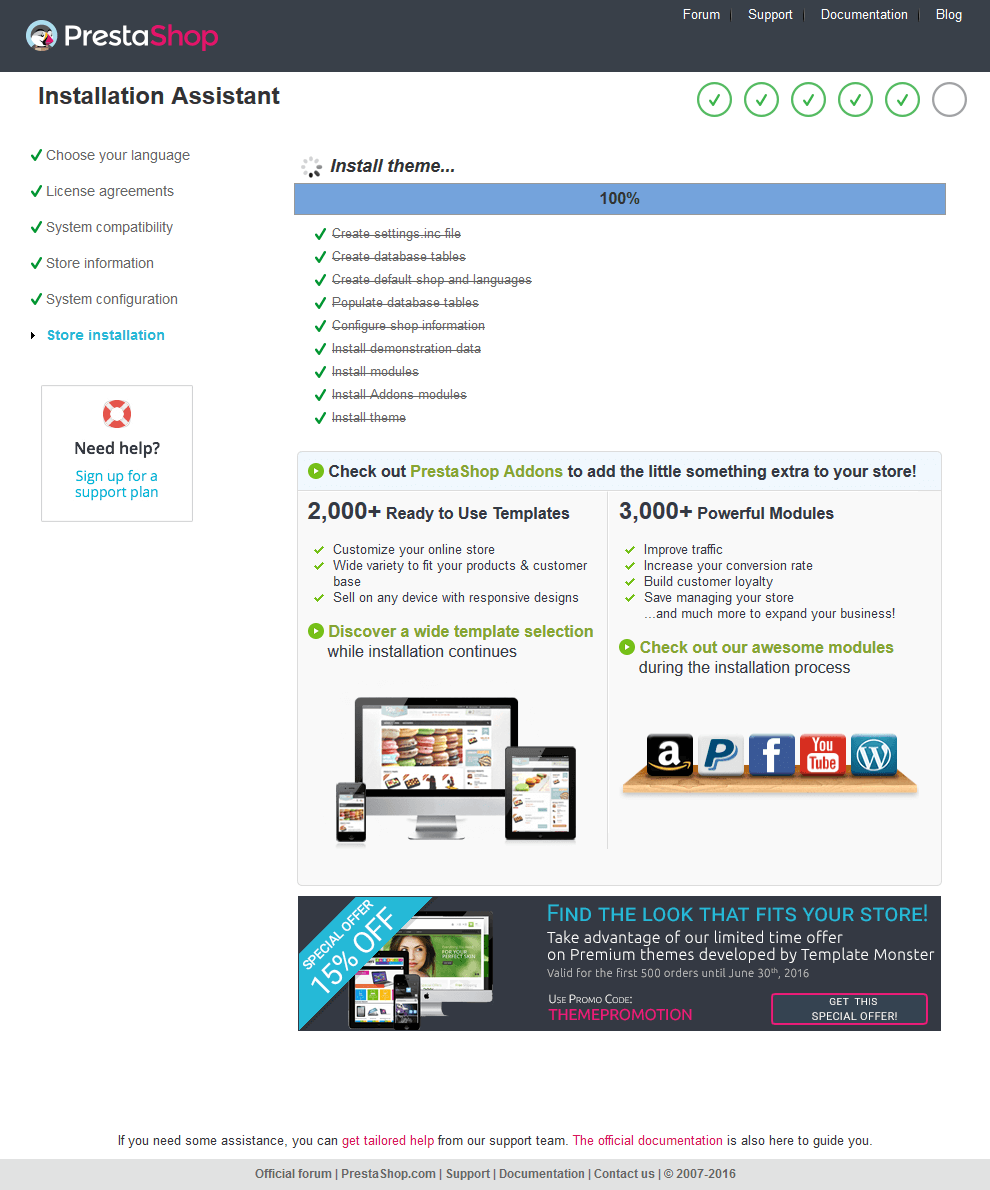
Finishing installation
After entering all the installation information, the PrestaShop Installer will begin installation and display a progress bar. Each installation step is listed as it is completed. The PrestaShop Installer will also display ads for modules and themes at the bottom of the page.
After installation completes, the administrator account information is displayed. By default, the password is hidden. Click the Display link to reveal the password. There is also a Print my login information link that can be used to print the administrator account email and password.
There is warning message displayed below the administrator account information that reminds the user to delete the install folder for security purposes. Learn how to delete files and folders here. Below the warning message, there are links to view the PrestaShop Back Office and Front Office. Learn more about the Back Office here and the Front Office here.
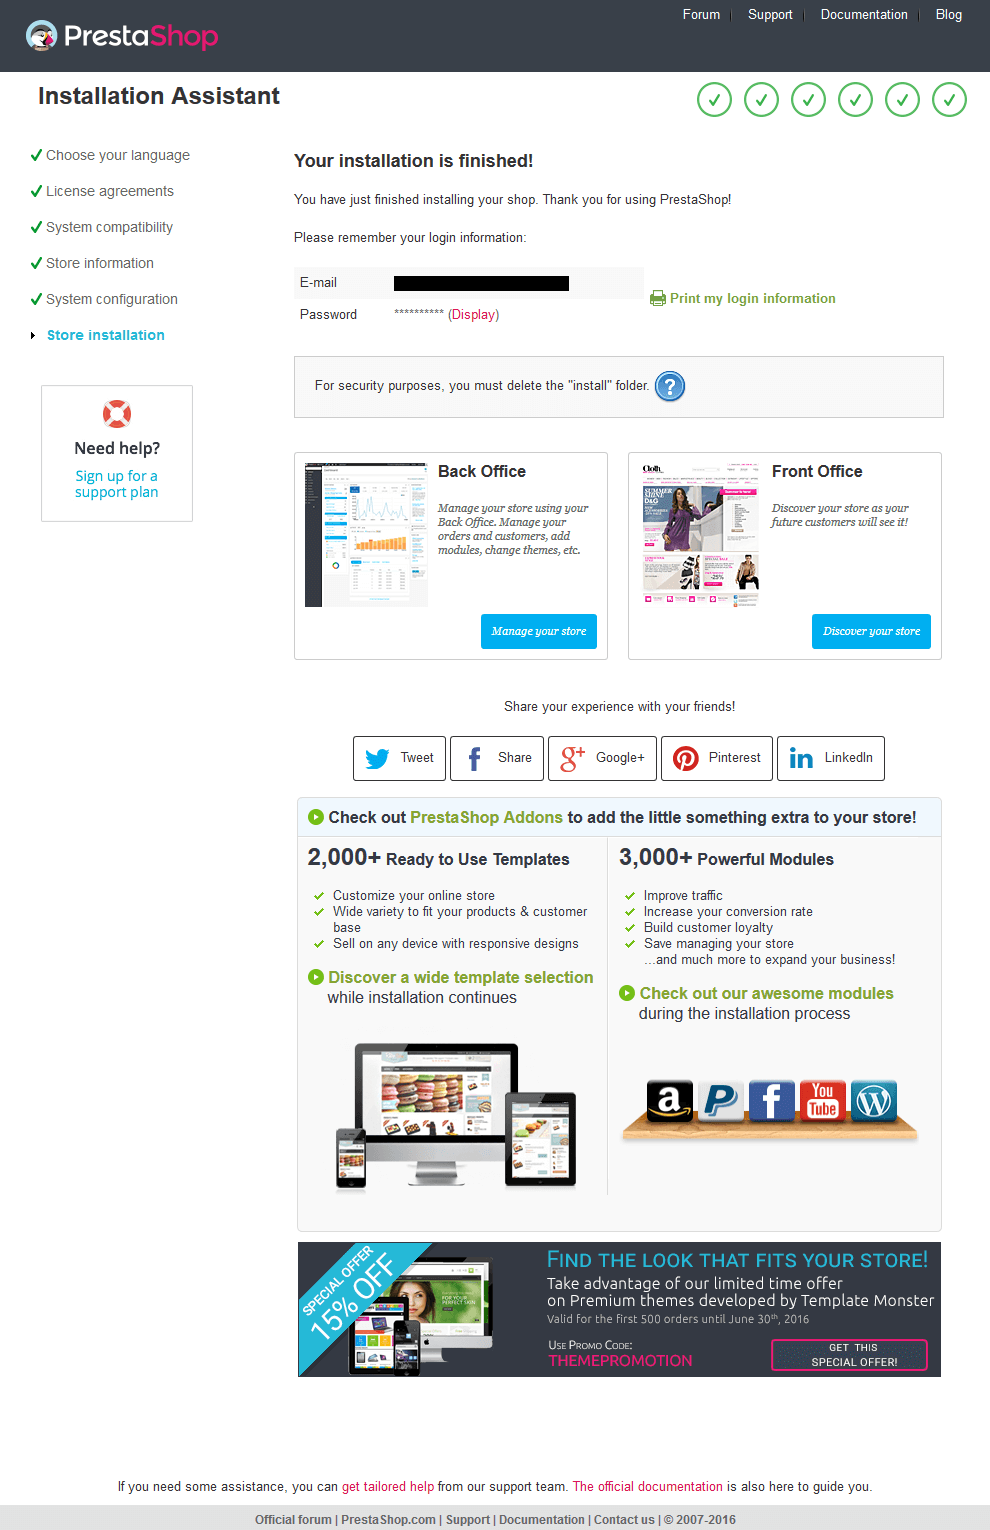
After clicking the Back Office link, notice that the PrestaShop Installer has added three random numbers and six random letters after the admin folder name. This is to make it harder for hackers to find the administration panel. Make a note of the admin folder name or rename it to something unique but memorable. Learn how to rename files and folders here.